Verify Your Business in Business Manager
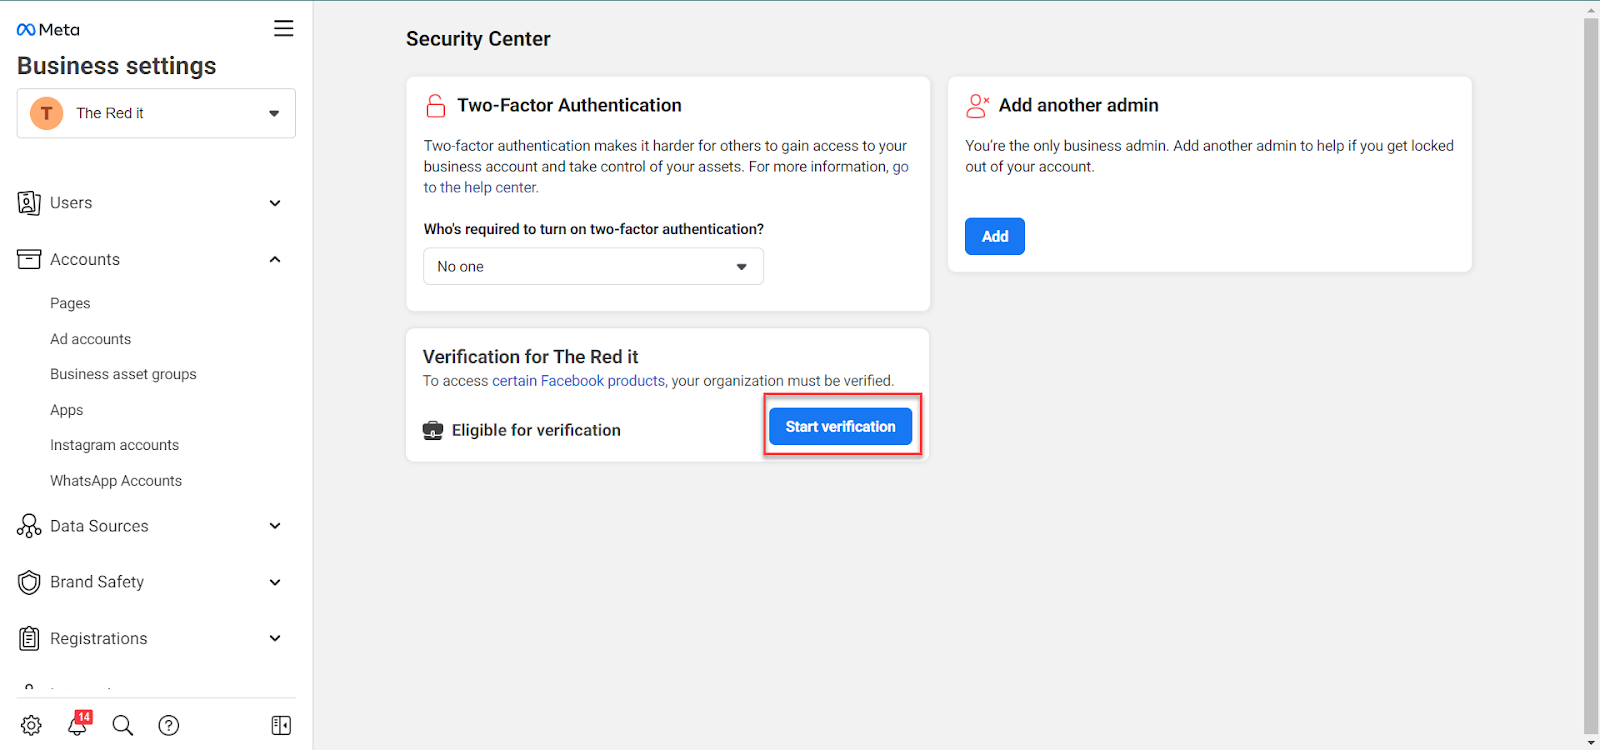
You can start the business verification process in Business Manager by going to Security Center. In Security Center, you can see your business verification status. You may also be required to start business verification in the app dashboard if your app is necessary to go through App Review.
Once you've completed business verification, you can return to the Security Center to edit your details at any time. However, any changes will require you to complete the business verification process again.
Your business must need access to specific products and features to begin business verification.
You won’t be able to click Start Verification unless your business needs to be verified.
You must be an admin of the Business Manager account to verify your business.
Advertisers based in China may be asked to complete bank account verification. Learn more about how to verify your business with your business bank account.
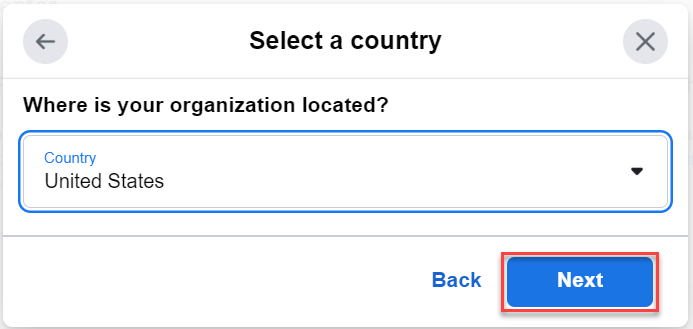
To start the business verification process:
- Select a business or Create a business

Click on “Get Started”


Verify using different method
Note that the phone number option may not be available in all countries.
If you don't get the verification code, you can request to receive another code. If you're still having problems getting your verification code, learn more about how to troubleshoot phone call issues

8. Input “phone number”

9. Enter your verification code (not applicable if you use domain verification).

10. (Optional) If your domain is already verified, you can click Verify us.

12. After verifying click on “done”
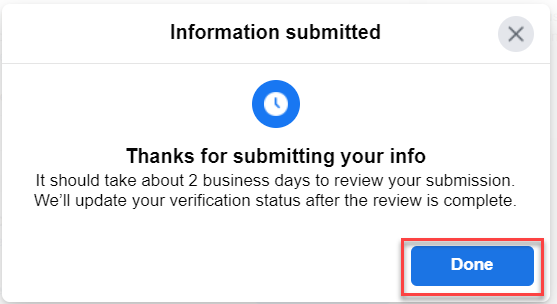

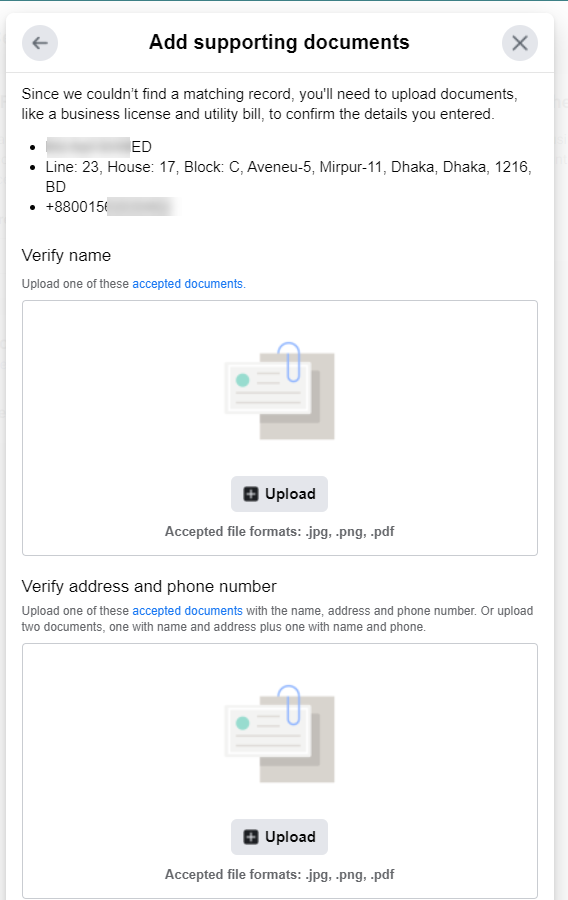
If you receive confirmation that your business is verified, there’s nothing more you need to do. You’ll receive a notification when the review is complete. You can also check your status in your Security Center. If we’re unable to verify your business identity, we may ask you to submit your ID before we attempt to verify it again. Learn more about when to use ID verification for business verification.
Please refer to next article to Connect your WABA on Woztell.
Related Articles
Connect WABA on WOZTELL
Once you have created an account on WOZTELL, you can immediately start setting up your WABA. The process will only take about 10 minutes and you will be good to go! WABA Setup Here are the procedures to complete your Whats App Business API channel: ...Microsoft Teams inbox purchase
Microsoft Teams Purchase 1. Go to the Microsoft team website https://www.microsoft.com/en/microsoft-teams/group-chat-software and click on “Sign up for free”. 2. Enter the same email account that you used to purchase Microsoft Azure, and ...How to set the Role of Agents
Agent Role setup Roles Stella Inbox uses a role-based privilege assignment policy. A few default roles are created. Admins can also create new roles or change the list of privileges possessed by old roles to suit their purposes. Admins may use ...Microsoft Azure Purchase and subscribing to teams inbox solution (SAAS)
Here's the process to subscribe to the 'Stella Teams Inbox Solution' from Azure Marketplace. Go to Microsoft Azure Platform: https://azure.microsoft.com/en-us/ and signup for Microsoft Azure, click on “Try Azure for free”. Then click on “Start free”. ...How to send files in Teams
Send files in teams Agents can send files to clients using command #Upload_File with the file download URL following the command. Images, audios and video files will be recognized automatically and transformed into suitable format to send to clients ...